Maps Tutorial
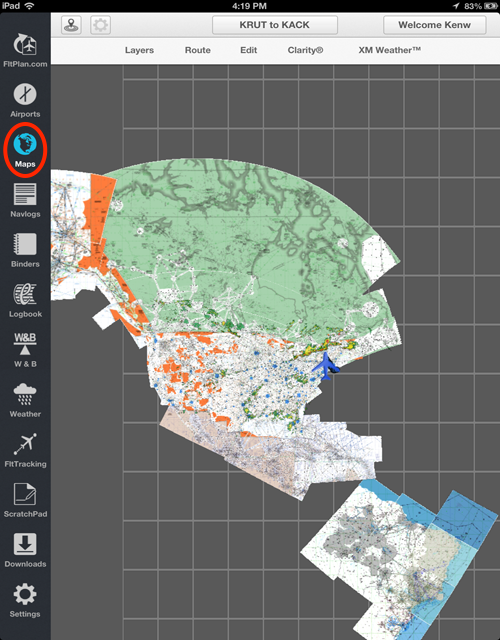
Tap the Maps button on the tab bar to the left of the screen to begin.
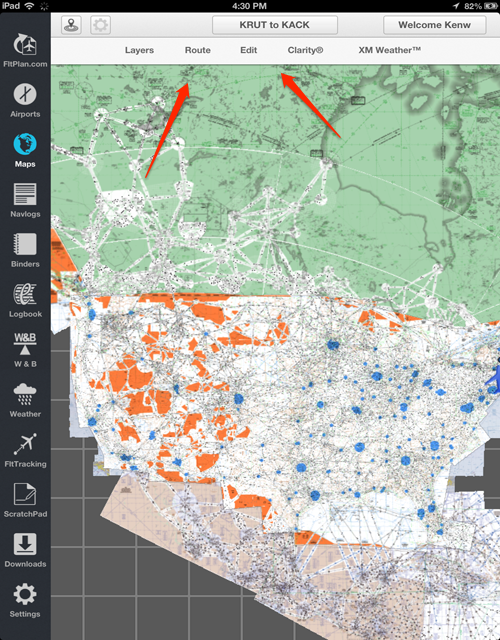
To change your route tap the button at the top center of the screen. A drop down view should
appear displaying all your routes.

On the main view you can see all the options can you choose from.
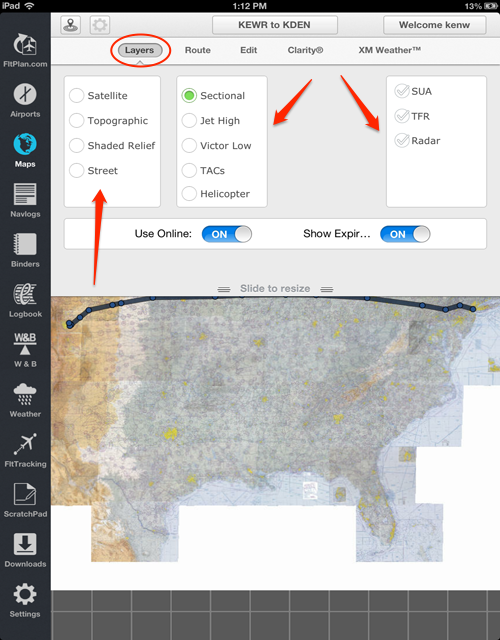
First we'll start with the Layers tab. In the Layers Section you can select all the different
map layers, different types of maps, and overlays.
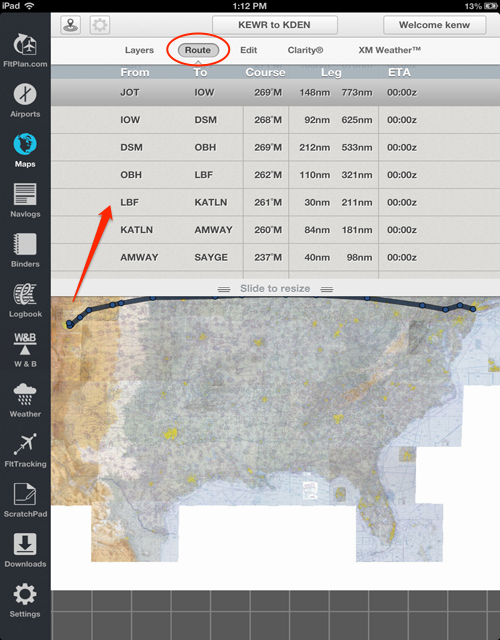
Next we have the Routes tab. Which displays all the Routes in your account.
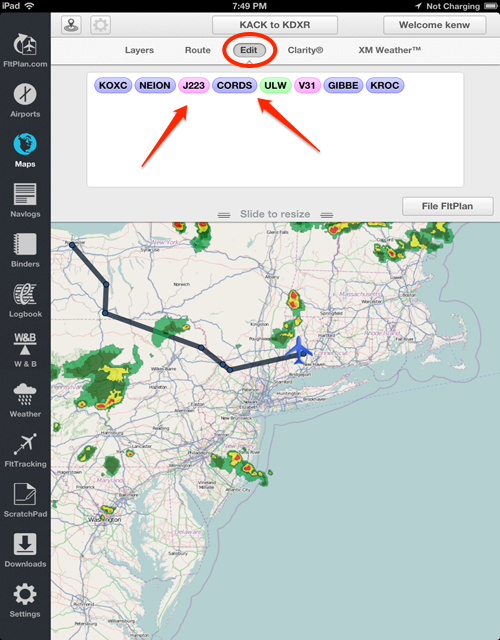
There is also an Edit tab, which allows you to edit your current route by typing the airport
into the text field. Also allows you to file a FltPlan.
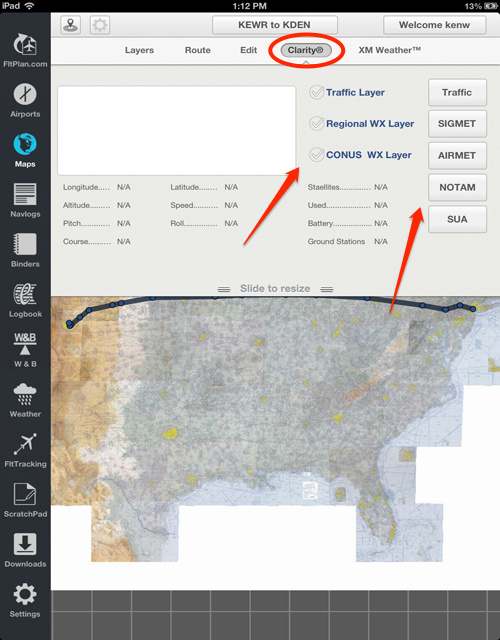
The next tab is Clarity. By opening this tab you can see all the layer options Clarity provides.
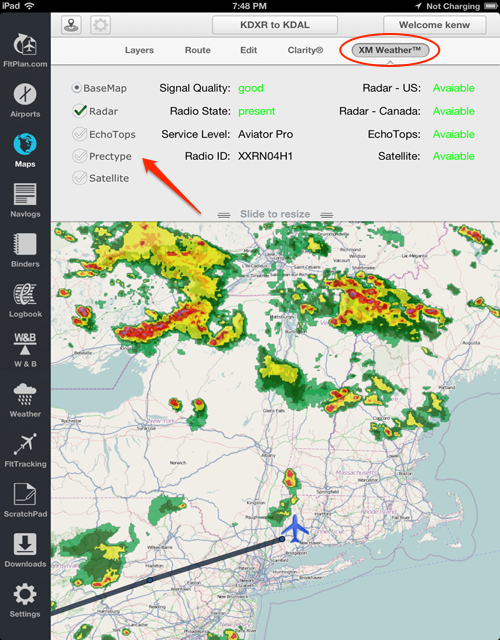
The last tab is XM Weather. Opening this tab gives you all the the options of XM Weather.
That concludes Maps tutorial, select one of the buttons above to view another tutorial.
|